


Learn to make your own Acoustic Panels (DIY)
| henry han
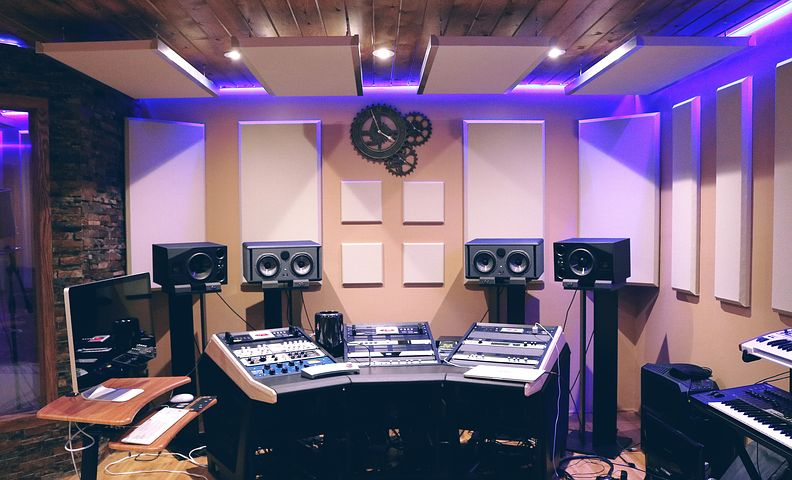
Who doesn't like to maintain a high-quality sound absorption system at their place? And the best way to achieve distinction in your work environment is to get an office acoustic solution.
Check out panel options at TFT systems and get an idea of your needs.
You might not know much about them but rest assured, it can get really costly.
Before buying pre-made acoustic panels and installation services from outside, we recommend you do your research on the costing of both options.
Tools and Material Analysis with Costing
If you're thinking of sound-proofing your office or home studio, you must keep in mind the number of panels and other acoustic products you will be needing.
Usually, it is recommended to cover at least 25% of the area for paneling. Furthermore, it can get truly expensive to get the panels made on custom order. Not to forget the installation charges.
If you are thinking of making all acoustic wall panels on your own, then you will need a lot of time and an open budget.
Tools Required for Making Acoustic Panels
You will find tons of DIY videos and articles on how to make acoustic panels and their installation. One thing common is a huge list of tools and materials required for doing it yourself, and when we say, you don't need all those tools, we mean it.
Buying every tool listed will only increase your cost. In case, you want DIY acoustic panels, here's a list of tools with prices that you will actually need:
- Drill Machine ($99)
- Staple Gun ($20)
- Tape Measure ($10)
- Gloves ($15)
- Drill Bit Set ($15)
- Hammer ($13)
- Clamps ($25)
- Speed Square ($10)
- Saw ($70)
Material Required for Making Acoustic Panels
You can choose the material and fabric according to your preference. You can also get it customized keeping in mind the theme of your place. However, that will only add to the expenditure.
The list of material required for making panels yourself is as follows:
- Plywood panels of 23/32 inches in 4ft and 8ft. ($40)
- Rockwool Insulation ($90)
- The fabric of various kinds ($30)
- Glue for wood ($6)
- Fiberglass Screen ($18)
- Screws ($15)
- Flash Mount Brackets ($15)
- Chains for Ceiling Acoustic Panels ($10)
- Carabiners ($10)
You can also buy our top-quality fabric for making your acoustic panels. We also customize your panels and partitions to add a personal touch and warmth for you to enjoy the comfort to extremes.
How to Make Acoustic Panels (DIY)
Step 1:
Select a sound absorption material for your acoustic panels. While selecting the material, you must keep a few aspects of it in mind. You can buy Rockwool Insulation or fiberglass that is at least 2 mm thick and has 3lb - 8lb density.
Step 2:
Building the wooden frame for your DIY acoustic panel is the next step. You can use plywood for this purpose. If you're more into getting a beveled edge panel, then go with 2" deep plywood. In case you like your panels perfectly flat and smooth, then 3" should be your choice.

Now place the insulation (after cutting it according to your wood panel size) accurately in your plywood frame.
Note that you might need to use a lot of adhesive sprays because the glue alone won't hold them together.
After sticking them with adhesive spray and glue, secure them with screws and clamps after drilling pilot holes.
Let the panels air dry for at least 24 hours.
Step 3:
Once you have secured the insulation in the wooden frame, it's time you wrap the sound transparent fabric around it. The primary reason for choosing an acoustically transparent fabric is to make sure that the sound waves pass right through it and get absorbed in the insulation.
Choose a 3D printed or a decorative fabric that will go with the theme of the room you're making it for.
Wrap the fabric around the panel and secure its end at the back of the panel by using a staple glue gun. You can also use the adhesive spray before securing it with the staple.
Step 4:
Prepare the panel for mounting to the wall.
Now that your Acoustic panels are ready, you need to find the early reflection point of the room. You can easily do it by running a mirror alongside your wall.
Don't forget to leave airspace behind your panels for better absorption.
Use your Flash Mount Brackets and Screws to pinholes in the panels and your wall to mount it. Once it's done, you're ready to hang it.
Use your fiberglass screen behind the panels to keep them in place and prevent slouching.
In case you want to hang the panels from the ceiling, you can utilize chains and carabiners for hanging acoustic ceiling panels.
Conclusion
We hope the above-listed steps were helpful for your DIY acoustic panel plans. However, there's always a second easy option and in this scenario, it is to buy pre-made acoustic panels. They come in various forms, shapes, designs, and sizes. Plus, you won't have to spend days on it.
We have a variety of acoustic panels, acoustic lighting, and other acoustic products for you to choose from.
You can also get it custom-made!
Choose the fabric of your choice, and your budget. You can always save installation charges by doing it yourself and create a win-win situation by saving your money and your time.
Leave a comment
Your email address will not be published.